
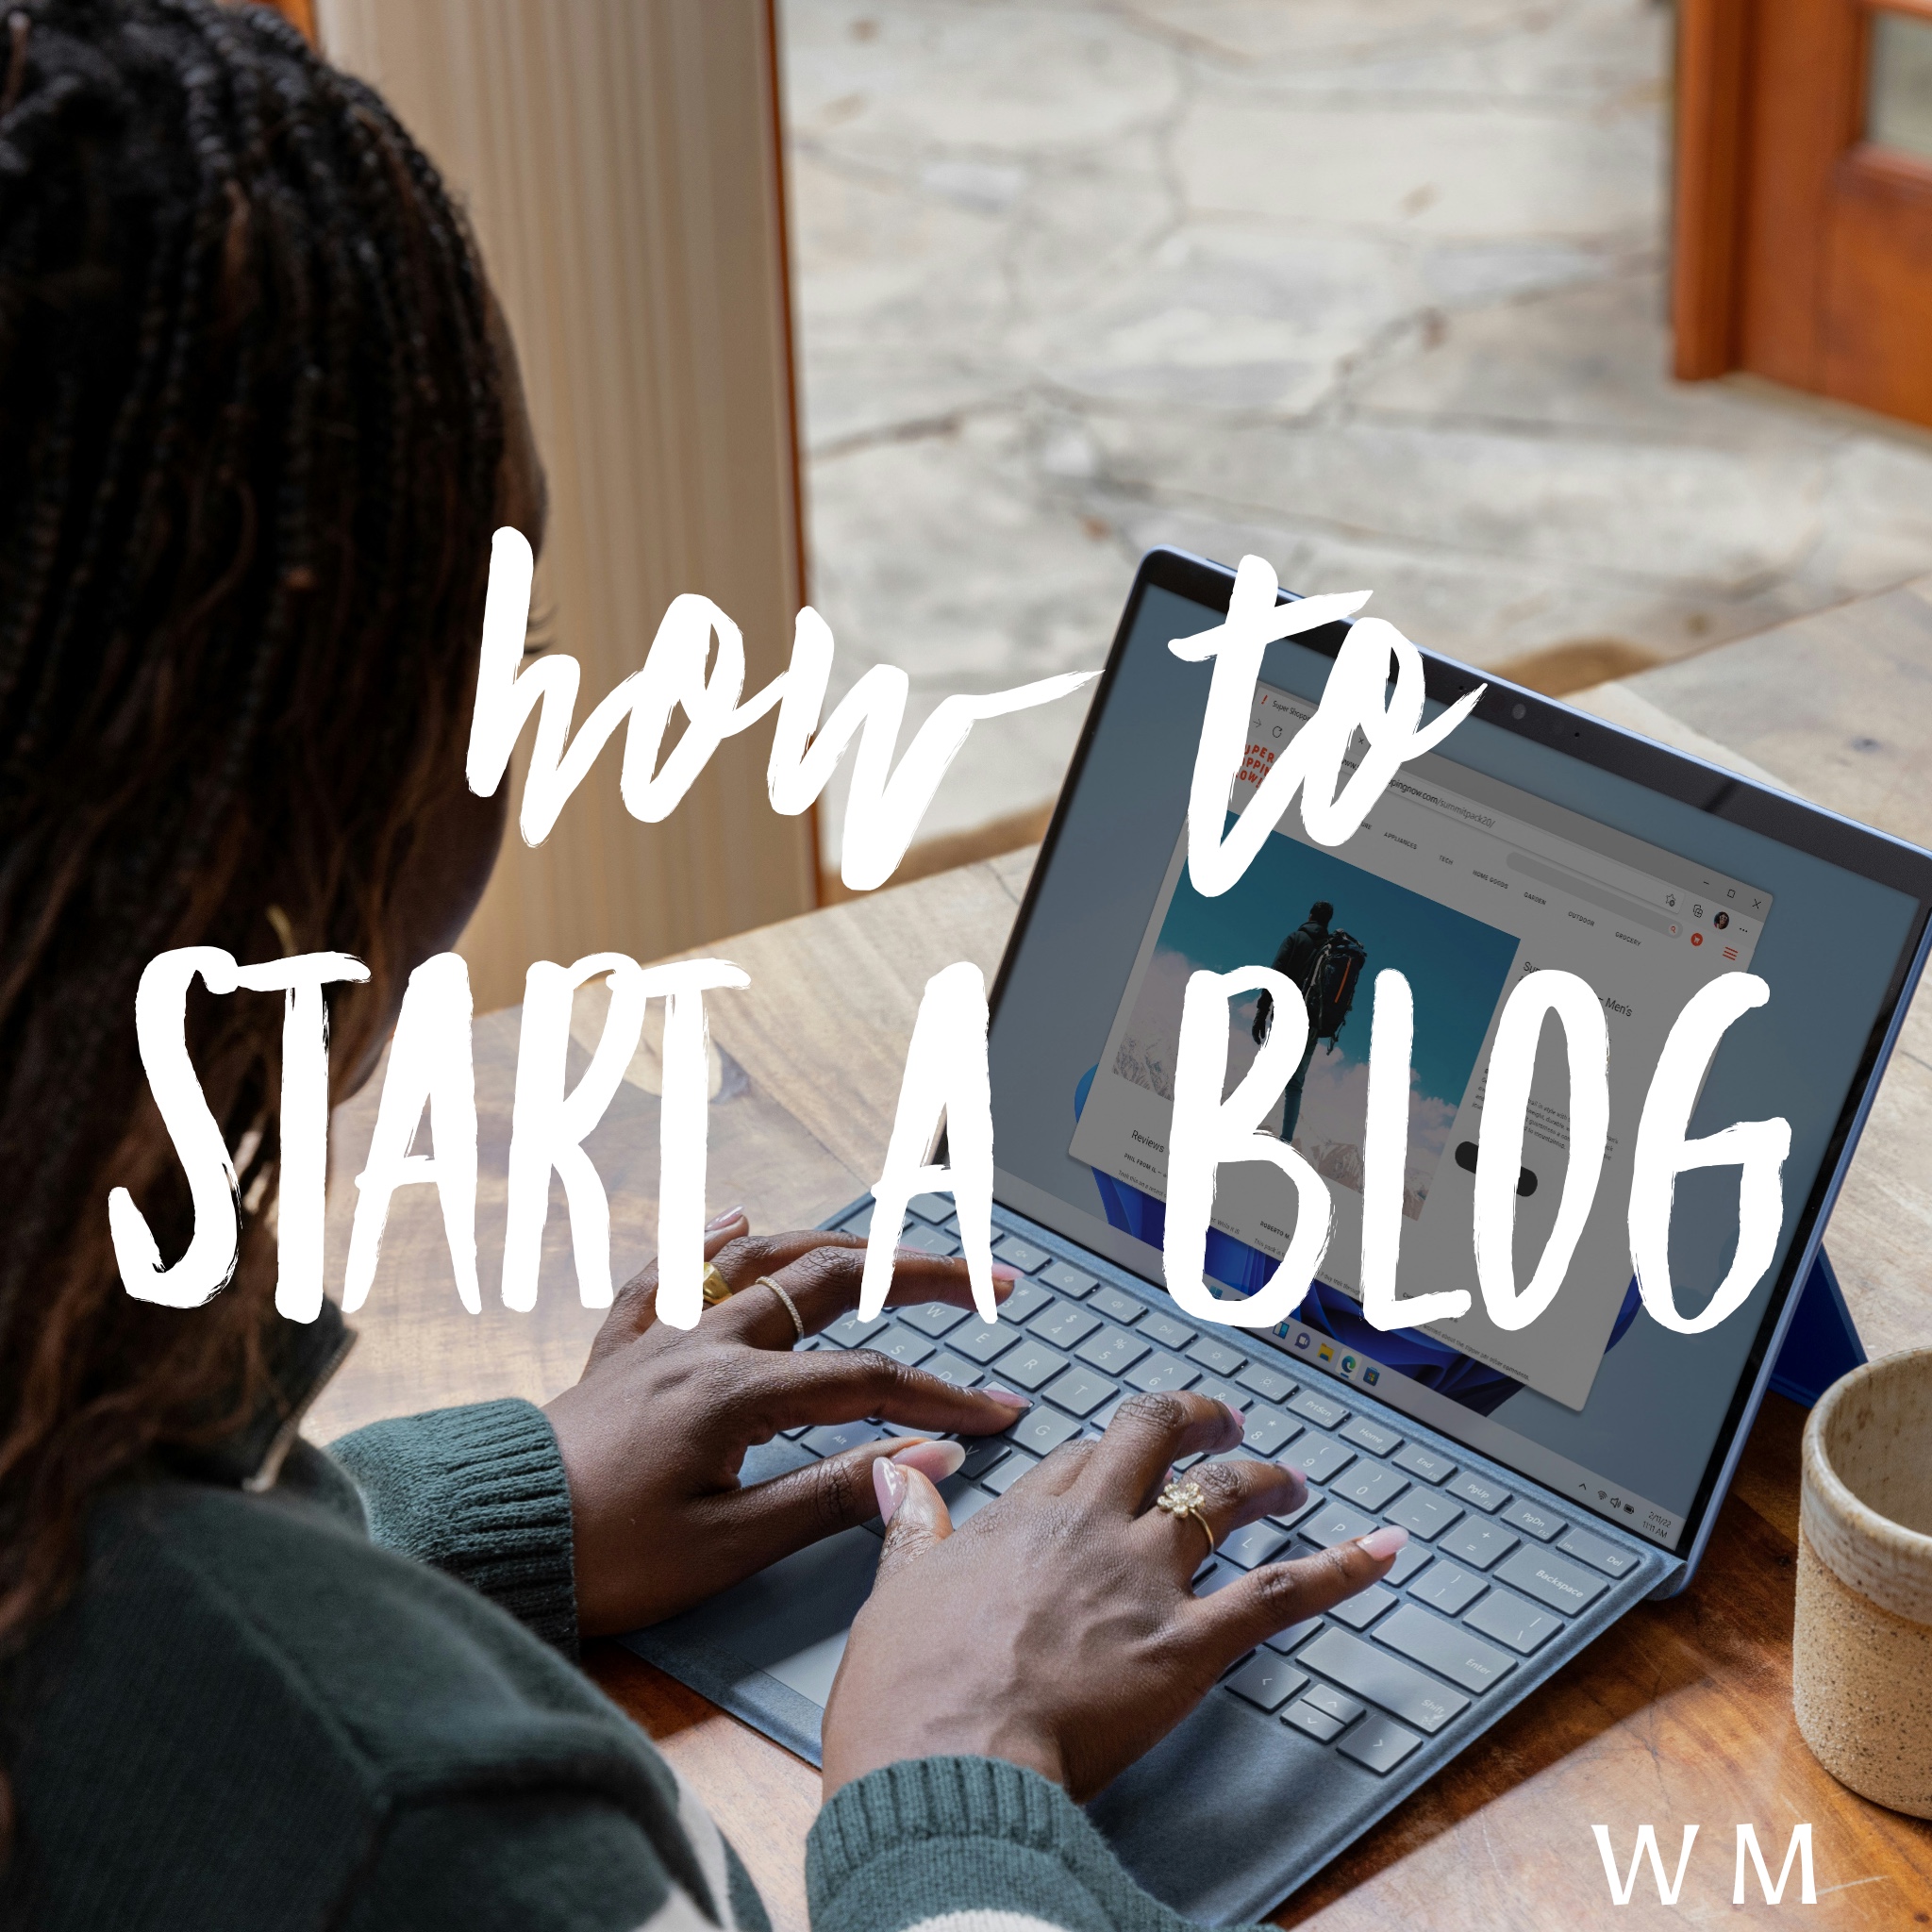
Launching a blog sits right up there with getting yourself heard online. If you want to build a marketing blog, start an online business, or promote yourself professionally, a blog speaks volumes to your online audience.
Think of it as marketing what you do and who your are personally or professionally. Yet, the daunting task of starting blog that looks the way you want it to, and sends the message that you want it to send.
When it comes to starting a blog, many people simply shut down and gape at the screen because they really are not sure how to start one. Blogging requires hard work and long hours.
Plus, blog software seems so technical and confusing at first, sort of like learning a new language. But, once you choose your software platform, and dig in, you find blogging isn’t as difficult as it seemed at first.
The easy part comes in signing up for the blogging platform, and the hard part comes in designing your blog and writing content that sends the message you want it to.
Let’s dig in and get started.
How To Start A Blog
For the purposes of this tutorial, I will teach you how to launch a new blog using the WordPress software. WordPress is the top platform for creating a blog, and is used by all web hosting companies you sign up with when you purchase a web address and services.
While there are plenty of other blogging platforms, such as Weebly, Squarehost, and even Blogger, Google’s free blogging platform, none of them work nearly as well, and in all honesty, WordPress simply looks cleaner and more professional.
Yet, there are two different paths to start a blog on WordPress: the free path, or the paid domain web path. So, let’s talk about how to get started with your blog.
Free or Paid
If you simply want to launch a free blog in WordPress, you can do that. You may not get all of the bells and whistles with the free version, but the blog will still look clean and well-presented. This blog, at this time, has the free version of WordPress. You can tell because the URL has a dot authorsite9427.live-website.com/ suffix after it.
If you want to purchase your domain through WordPress, you can do that, however, the cost per month may cost you about $40 a month. If that price does not make you wince, then you may find this appealing.
Forty dollars a month purchases flashier themes for your blog design, and add-ons for your blog, called plug-ins, which I go into more later. However, there is still yet a more inexpensive way to launch your blog with the plug-ins, plus better customer support.
The short phrase for this is buying web hosting through a variety of web hosts in the marketplace. The top web hosting company is Blue Host, which has a top-notch blogging software, and solid customer service. Plus, the current price for blog hosting runs about $5 a month.
You sign up on their website with a URL name (tips below) that you want to use for your blog, and then buy what is called domain registration for your blog web address and pay a monthly fee to keep your blog hosted at your domain company (i.e. Blue Host).
So, for example, your blog web address may cost you $12 a year, which you pay for when you sign up, and then the blog hosting, or parking of your blog, comes at $5 a month plus taxes. So, if you sign up with a company such as Blue Host today, you will pay about $17 plus taxes, and then the monthly hosting fee after that.
Either way, you can launch your blog today.
Choose a name
When you choose a blog URL or web address, you can only change it easily with a free blog. However, if you pay for a new blog, once you give them a URL name, you are stuck with it. So, choose wisely.
If you start a free blog, you may choose a simple name that WordPress will list in front of their dot com name. You can later go back and change it as you work on the design and content of your blog easy enough, so fear not about the name.
However, if you choose to pay for hosting, you need to have your blog name thoroughly researched, and know that you are stuck with it.
No matter which way you choose, consider why you want to launch a blog. If you want to promote yourself, you might consider using your name as a web address. However, if you want to sell rockets, for example, then you may want to consider a URL that reflects selling rockets.
Just consider the long-term view of your URL, and whether or not you want to pay for the blog immediately.
WordPress Basics
Whether you choose the free or paid version, the software generally looks the same. Below I show you an image that helps you see how the software looks on your computer screen. You will note the list of tabs on the left, and each tab’s reflection shows up on the right of the screen.
Paid versions, as I said, have plug-ins and the screen has more tabs, whereas the free version contains a nice simple layout, which may reduce blogging anxiety.
Once you enter the software, you need to go to Appearance on the tabs and click on Themes. This helps you choose a nice theme, which presents your blog on the Internet through its URL.
Set up your blogging theme.
Once you enter the Themes section, I recommend starting with a simple theme. I admit that in recent years, WordPress has gotten a bit more technical with its themes.
If you are a beginner blogger, I recommend searching the Automattic themes, which are the basic themes created by WordPress and Jetpack. And if that still drives you crazy, choose the Blogger theme created by Automattic, which contains the more user friendly of the themes.
In all honesty, the themes you find on the paid hosting company platforms will be the easiest to use. Further, you can search the Internet for paid WordPress themes, which you can upload in the Themes section.
Using the Customizer tab under Appearance helps you edit and design your theme to your taste.
Even if you don’t keep the theme you start with, use it while you get settled with your blog. Launching a general set-up helps you get started. Later, when you get your sea legs in the blogosphere, make the changes you want.
Learn How to Write a Post
Next, it is time to take the blog software for a test drive and learn how to write a post. Are you excited?! You should be.
The first thing you notice about WordPress software is that the blog post page separates into blocks. Each block contains a separate paragraph or image.
When you click on the block, a small bar shows up, asking you if you want to keep writing a paragraph, or do you want something else. Each paragraph, heading, list, or image fits into its own block. I suggest you play around with writing your first paragraph and editing it using the different settings so that you know how to write a nice readable blog post.
Your blog post should be at least six paragraphs long, but in all seriousness, even twice that would be awesome. Write a beginning idea, the meat of the idea, and the end of an idea, or a summary.
Think it is a hamburger, with two buns and the filler in-between. You introduce your topic, telling your readers what you are going to tell them. Next, you add in the filler topics, explaining in greater detail with at least three major portions. Finally, you wrap up your blog post with a conclusion, re-telling what you told them in your post.
Make sure you add headings separating your general beginning, your middle topics, and finally your end paragraph(s). Look at this blog post for more guidance! This helps break up the post, and creates a more readable blog post.
Pro Tip: Don’t forget to use the spelling and grammar check for any errors in your writing. And, even a free app like Grammarly really helps you out for those errors that slip past you.
But wait, what about your title and your pictures? Ah, yes, let’s cover that too!
SEO What?!
You may or may not know what SEO stands for, but let me clear up the muck—it means search engine optimization. In short, SEO describes the keywords to help Google and other search engines to find your content.
So, just when you thought maybe you did not want someone to read your content, you need to reconsider.
For example, if you write about rockets, to promotes your rocket selling, you may want to include in your blog posts and your titles, some of the following possibilities.
- rocket parts
- rocket launches
- what makes a rocket go?
- rocket engines
- make your own rockets
- toy rockets
You get the picture. Think about all of the things you want to share with your new audience and include those keywords in your blog post and your blog post title. This helps greatly as your write more blog posts and grow your blog.
Find Photos
In our modern online culture, you must have an image if you want readers. For simplicity, begin with one image, that works with your blog theme.
In general, a large square photo, 1,000 pixels by 1,000 pixels works best. Most programs work well with images like this, plus, they share well on social media, which I share below.
Plenty of photo companies allow you to use images for free, plus, with the dawn of A.I. you can request specific images for your purposes.
In short, there are several major online companies you may want to consider for free, royalty-free images:
- Pixel
- Unsplash
Simply sign up with each website you choose to use, and follow their instructions for download.
Since photographers sell or share their photos, you may want to consider giving them credit for their free photos. Do check for any guidelines in the use of these images, as you want to make sure they are royalty-free, meaning free to use however you want.
However, once you find the images, you need to add in those keywords and/or the title on your images. This sends another SEO message to Google identifying what your blog post is really about.
Some photo editing programs to help you add words to your blog are below.
- Pixlr
- PicMonkey (free or paid)
- Canva (free or paid)
Uploading your image to this software helps you write your title and/or keywords onto the image. Then download it and save it to your computer. Once you do this, you upload it to your blog post using the image setting in the WordPress block. Add it wherever you want it, and then save.
Launch Your Blog
Finally, once you get all of your settings adjusted, and your blog posts the way that you want them, you click “launch” on your blog dashboard.
Even while your blog is live, you can still tweak, re-design and change its appearance. The more you create an online atmosphere you desire, the more you bring in your ideal readers.
Put Out Social Media Posts
Finally, you may already be asking about social media.
Another really important and final step to blogging is to shout out your posts on social media networks. You can even use your personal accounts at first or ask your friends and family to share your blog. This will help you get noticed.
However, if you need or want to build a business, you need to create social media accounts that reflect your business. Start with the platform that fits your blog the best and post both content from your blog, and related content on the platform.
Create header images that match your blog, and add a link back to your blog from the social media platform, to tell people about your new project.
Then, like or follow others whom you think may want to read your content. Getting the word out is mportant to help build links back to your blog and increase traffic.
Need a free or cheap way to start your blog? Read this book.
You Created Your New Blog!
You just started a new lifestyle skill! While it may be tempting to leave it and forget it, you may want to reconsider that idea.
Depending on your blogging purposes, additional blog posts only heighten your blog traffic. While at first, you may not see any traffic at all, later, as you increase your content from one to ten blog posts, and then beyond, your stats will rise.
Then, once you add more than ten posts, you may want to share your work with others through social media accounts, you set up.
The more you write and share, the more traffic you receive.
You may also want to read these blog posts for more information:
Ten Blogging Myths for Newbies
Seven Things Successful Bloggers Need to Know